Summary
For a project I am working on, I wanted a custom view. This view needs to display text in a fixed-width, lining up characters into columns. I describe steps to create that view, and then package it as a Cocoapod for distribution.
Creating the View
Here’s a sample of the intended result:
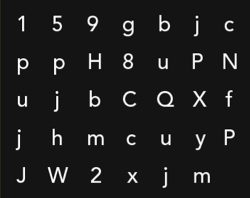
To do this, I decided that the custom view should have a property called
text (the same as a UILabel), which would supply the text. The view
would break up the string into characters and render those using manual
spacing. This was implemented before the first commit (3957e4e).
Having gotten something that kind of worked, I added properties
textFont and textColor. I decided that the spacing should be
automatic, so I obtain the width of a particularly wide character “W”,
and scale it by a factor to obtain the amount of spacing between each
character.
// The character size of a really big character using the given font
- (CGSize) characterSize {
    return [@"W" sizeWithAttributes: @{
             NSForegroundColorAttributeName: self.textColor,
             NSFontAttributeName: self.textFont
             }];
}
Implementing Copy
Since we’re displaying text, it would be nice to be able to copy it. I decided that I would only support copy and not selection, mostly because for my purposes the text displayed is one contiguous block. (I realize this is a bit short-sighted.)
You can find the implementation of the copy functionality in commit a26ee00. There are basically three things that need to be done:
- Implement
touchesEnded:withEvent:. Detect an appropriate number of taps, and callbecomeFirstResponder. If that works, we show the copy menu. - Implement
canBecomeFirstResponder. This is necessary forbecomeFirstResponderto succeed. - Implement the
copy:method to perform the actual copying.
Packaging as a Cocoapod
Cocoapods provide a really simple way to manage dependencies. Whenever I interview iOS developers, I give them a big plus when they know and use it. I’ll be listing the things that need to be done
Creating the structure
To create the structure, you can just use pod lib create [pod name] at
the command-line, after you have installed Cocoapods. In my case, since
I had already created and pushed up code to a git repository, I moved
all that code to an old branch, and then pushed the pod skeleton up
as master using the --force flag.
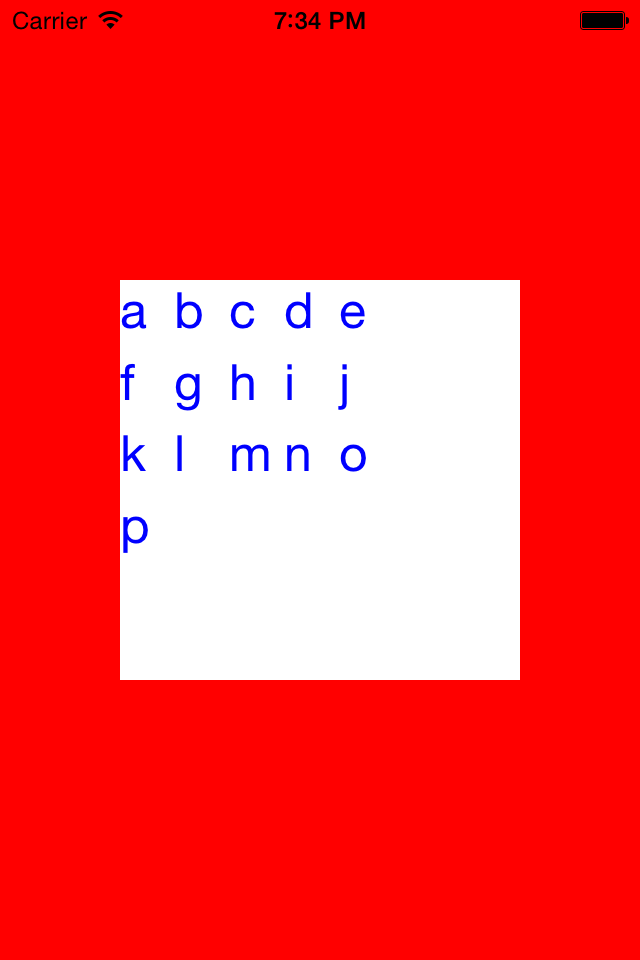
I copied the the view header and code into the project structure under
Pod/Classes/. Next, in my example project directory, I ran pod
install to load the new dependencies. Finally, I updated the example
project to use the custom view.
Completing tests
Since I only have a custom view, I wanted to use FBSnapshotTestCase
for testing. It validates tests by visually comparing the view to a
pre-existing screenshot of the view.
Travis Setup
When you run the skeleton creation, it creates a .travis.yml file for
you. All I had to do to get it working was to uncomment the
before_install line.
Then I went to travisci.org, and turned on the corresponding Github project to enable CI.
Pushing up
In order to push your cocoapod, it needs to validate. You can use
pod lib lint to make sure things are okay.
Once I was sure my cocoapod was valid, I registered my machine with
cocoapods with pod trunk register, and pushed it up with
pod trunk push.
The cocoapod is called JALFixedWidthLabel.